Creating VPC Network
To create a VPC, subnets, and other VPC resources:
1. Open the Amazon VPC console at
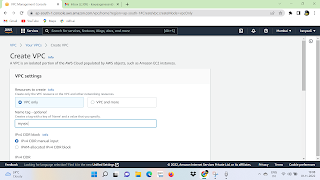
2. In the navigation pane, choose Your VPCs, Create VPC.
Under Resources to create, choose VPC. -> IPv4 CIDR block: Choose an IPv4 CIDR for the VPC. This option is required..png)
.png)
4. Choose create VPC:
To view VPC details using the console:
1. In the navigation pane, choose VPCs. Select the VPC, and then choose View Details.
2. After creating VPC , then click security groups option in the navigation bar, then choose create security group option.
4. The list of groups opens. Select the group name from the list and set rules. Then click the save button.
Launch Instance into VPC:
1. Select EC2 and click launch instance option in the navigation bar.
A page opens. Choose the AMI which is required.
2. Choose an Instance type and select hardware configuration.
3. Select the recently created VPC from the Network list, and the subnet from the subnet list.
Leave other settings as default.
4. On the configure security group page, select the recently created group from the list, then select Launch button.
5. Confirmation page open which shows all the details related to instances.
Assign Elastic IP Address to VPC Instances:
1. Select Elastic IP's option in the navigation bar.
2. Select Allocate New Address. Then select Yes, allocate button.
3. Select your IP address, from the list select Actions, and then click the Associate Address button.
Delete a VPC:
1. Select the Instances option in the navigation bar.
2. Select the Instance from the list, then select the Actions -> Instance state-> Terminate button.
3. A new dialog box opens. Click Terminate button.
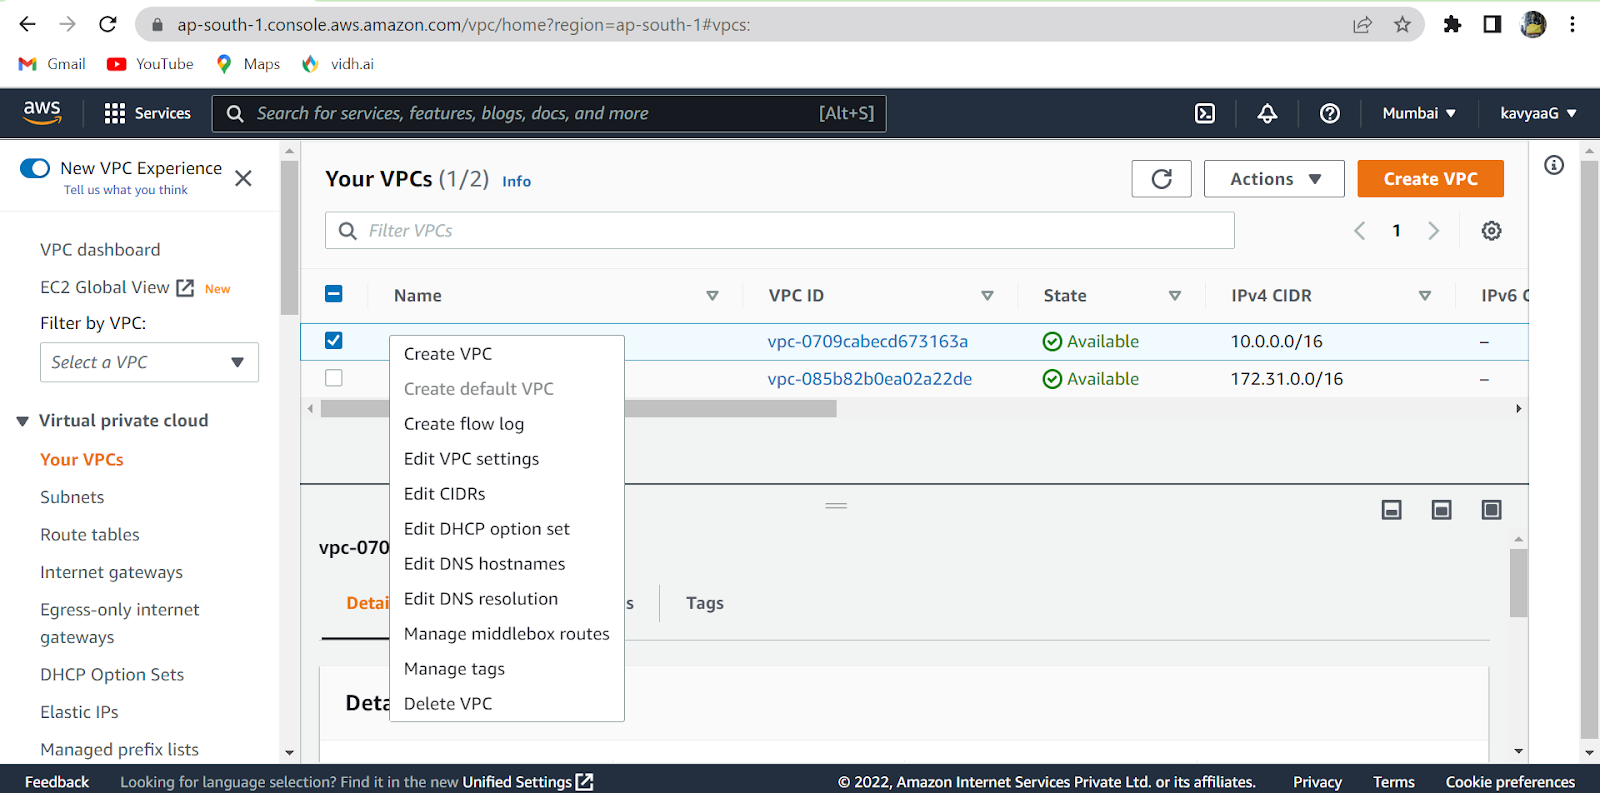
4. Select the VPC from the navigation bar. Then select Actions -> Delete VPC button.
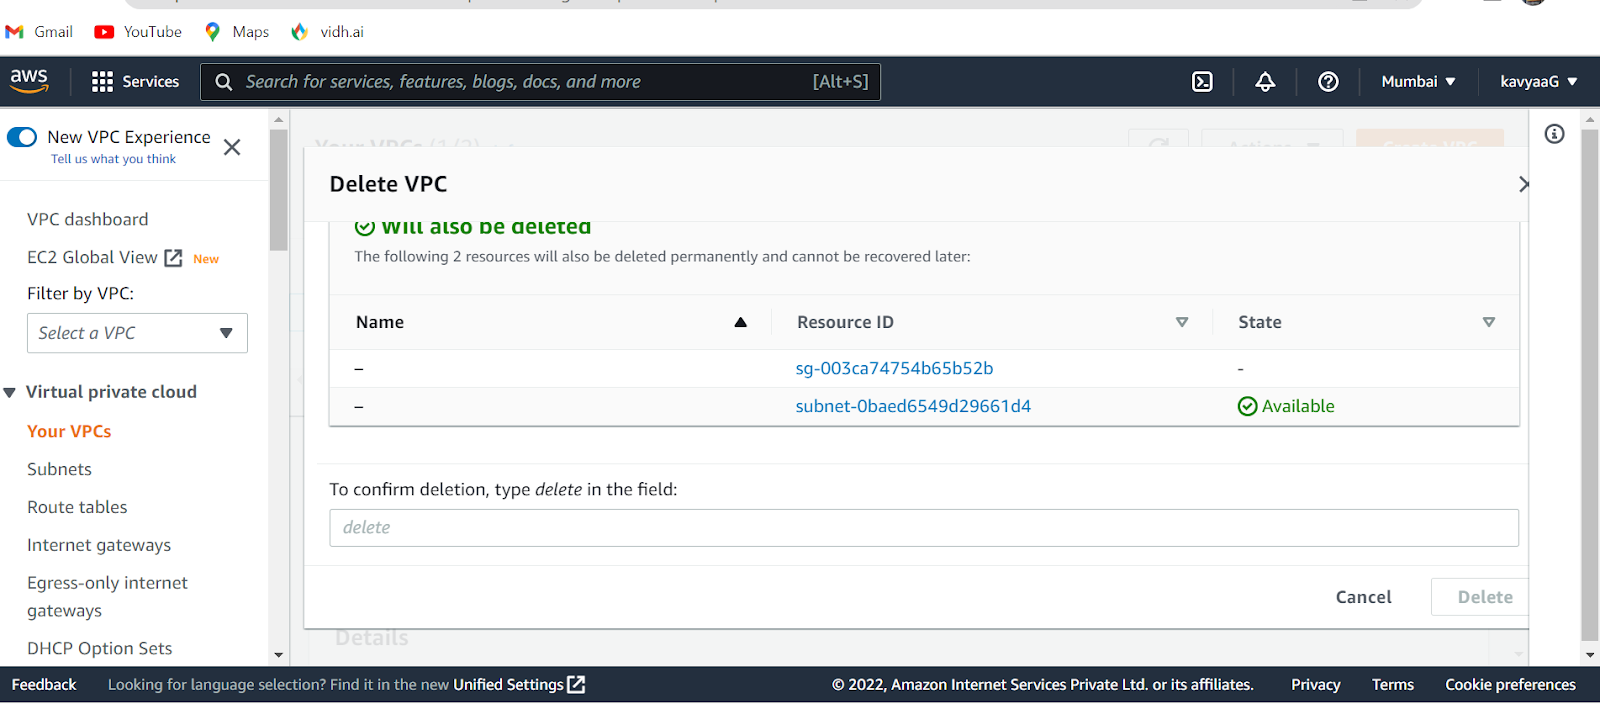
5. A confirmation message appears. Click the delete button by entering delete.
.png)
.png)
.png)
.png)
.png)

.png)
.png)


Comments
Post a Comment